Storyblok & Next.js quickstart guide
Learn how to integrate Storyblok with Next.js and fetch content with React server components.
Published July 18, 2024 (Updated July 18, 2024)

In this short 5-minute tutorial you will learn how to fetch data from Storyblok in Next.js by creating a concert event website. Storyblok and Next.js are both great tools to build a content-driven website with a clean content editing interface.
You will build a small Next.js website that fetches concerts from Storyblok and displays their information. By the end of this tutorial, you will have the necessary skills to model different types of content in Storyblok and fetch it in Next.js.
Copy the tutorial code from GitHub https://github.com/AustinShelby/storyblok-nextjs-quickstart-guide.
Prerequisites
Before starting this tutorial, you will need:
A free Storyblok account that you can register here: https://get.storyblok.com/austin-shelby.
A new Storyblok space.
A clean Next.js 14 project. Install Next.js 14.
Model content in Storyblok
In your newly created Storyblok space navigate to the Block Library section, click on New Block, and create a Content type block with the technical name concert.
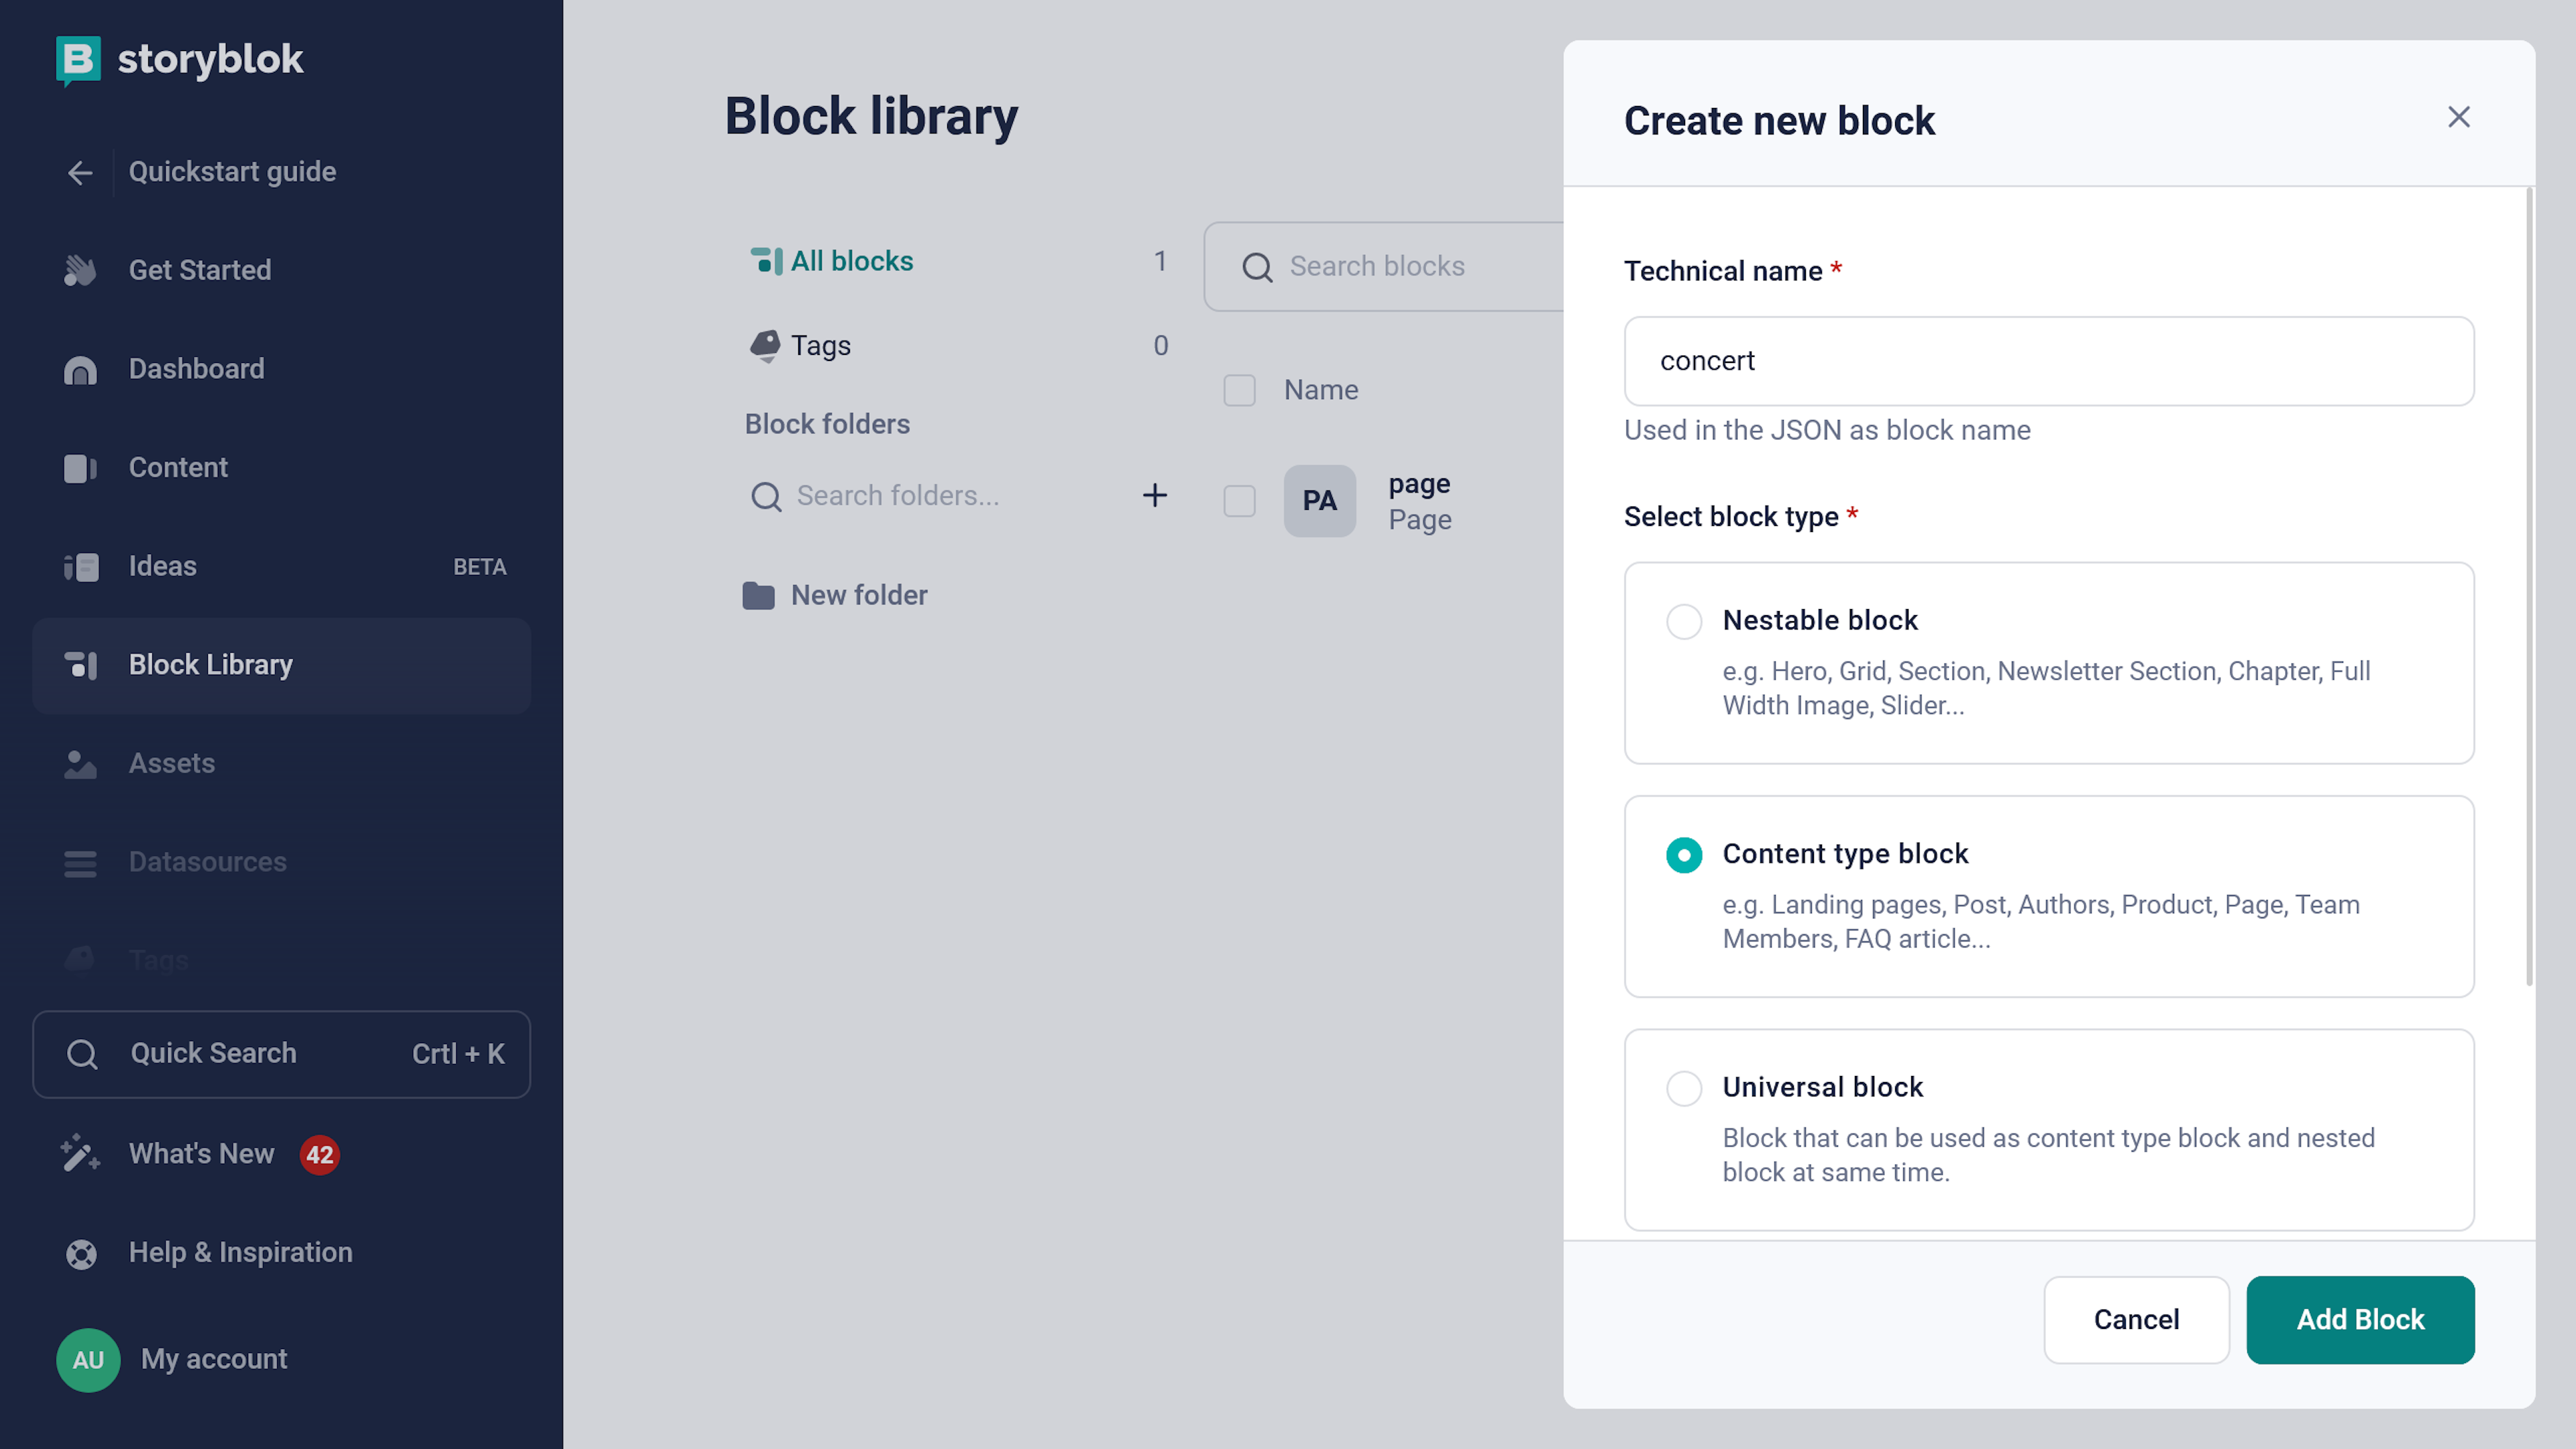
You can think of blocks in Storyblok like tables in SQL databases. They can have different fields with different types such as text, numbers, or images. Stories in Storyblok are like rows in SQL databases. Based on this concert block we will create multiple stories that we can then fetch in Next.js.
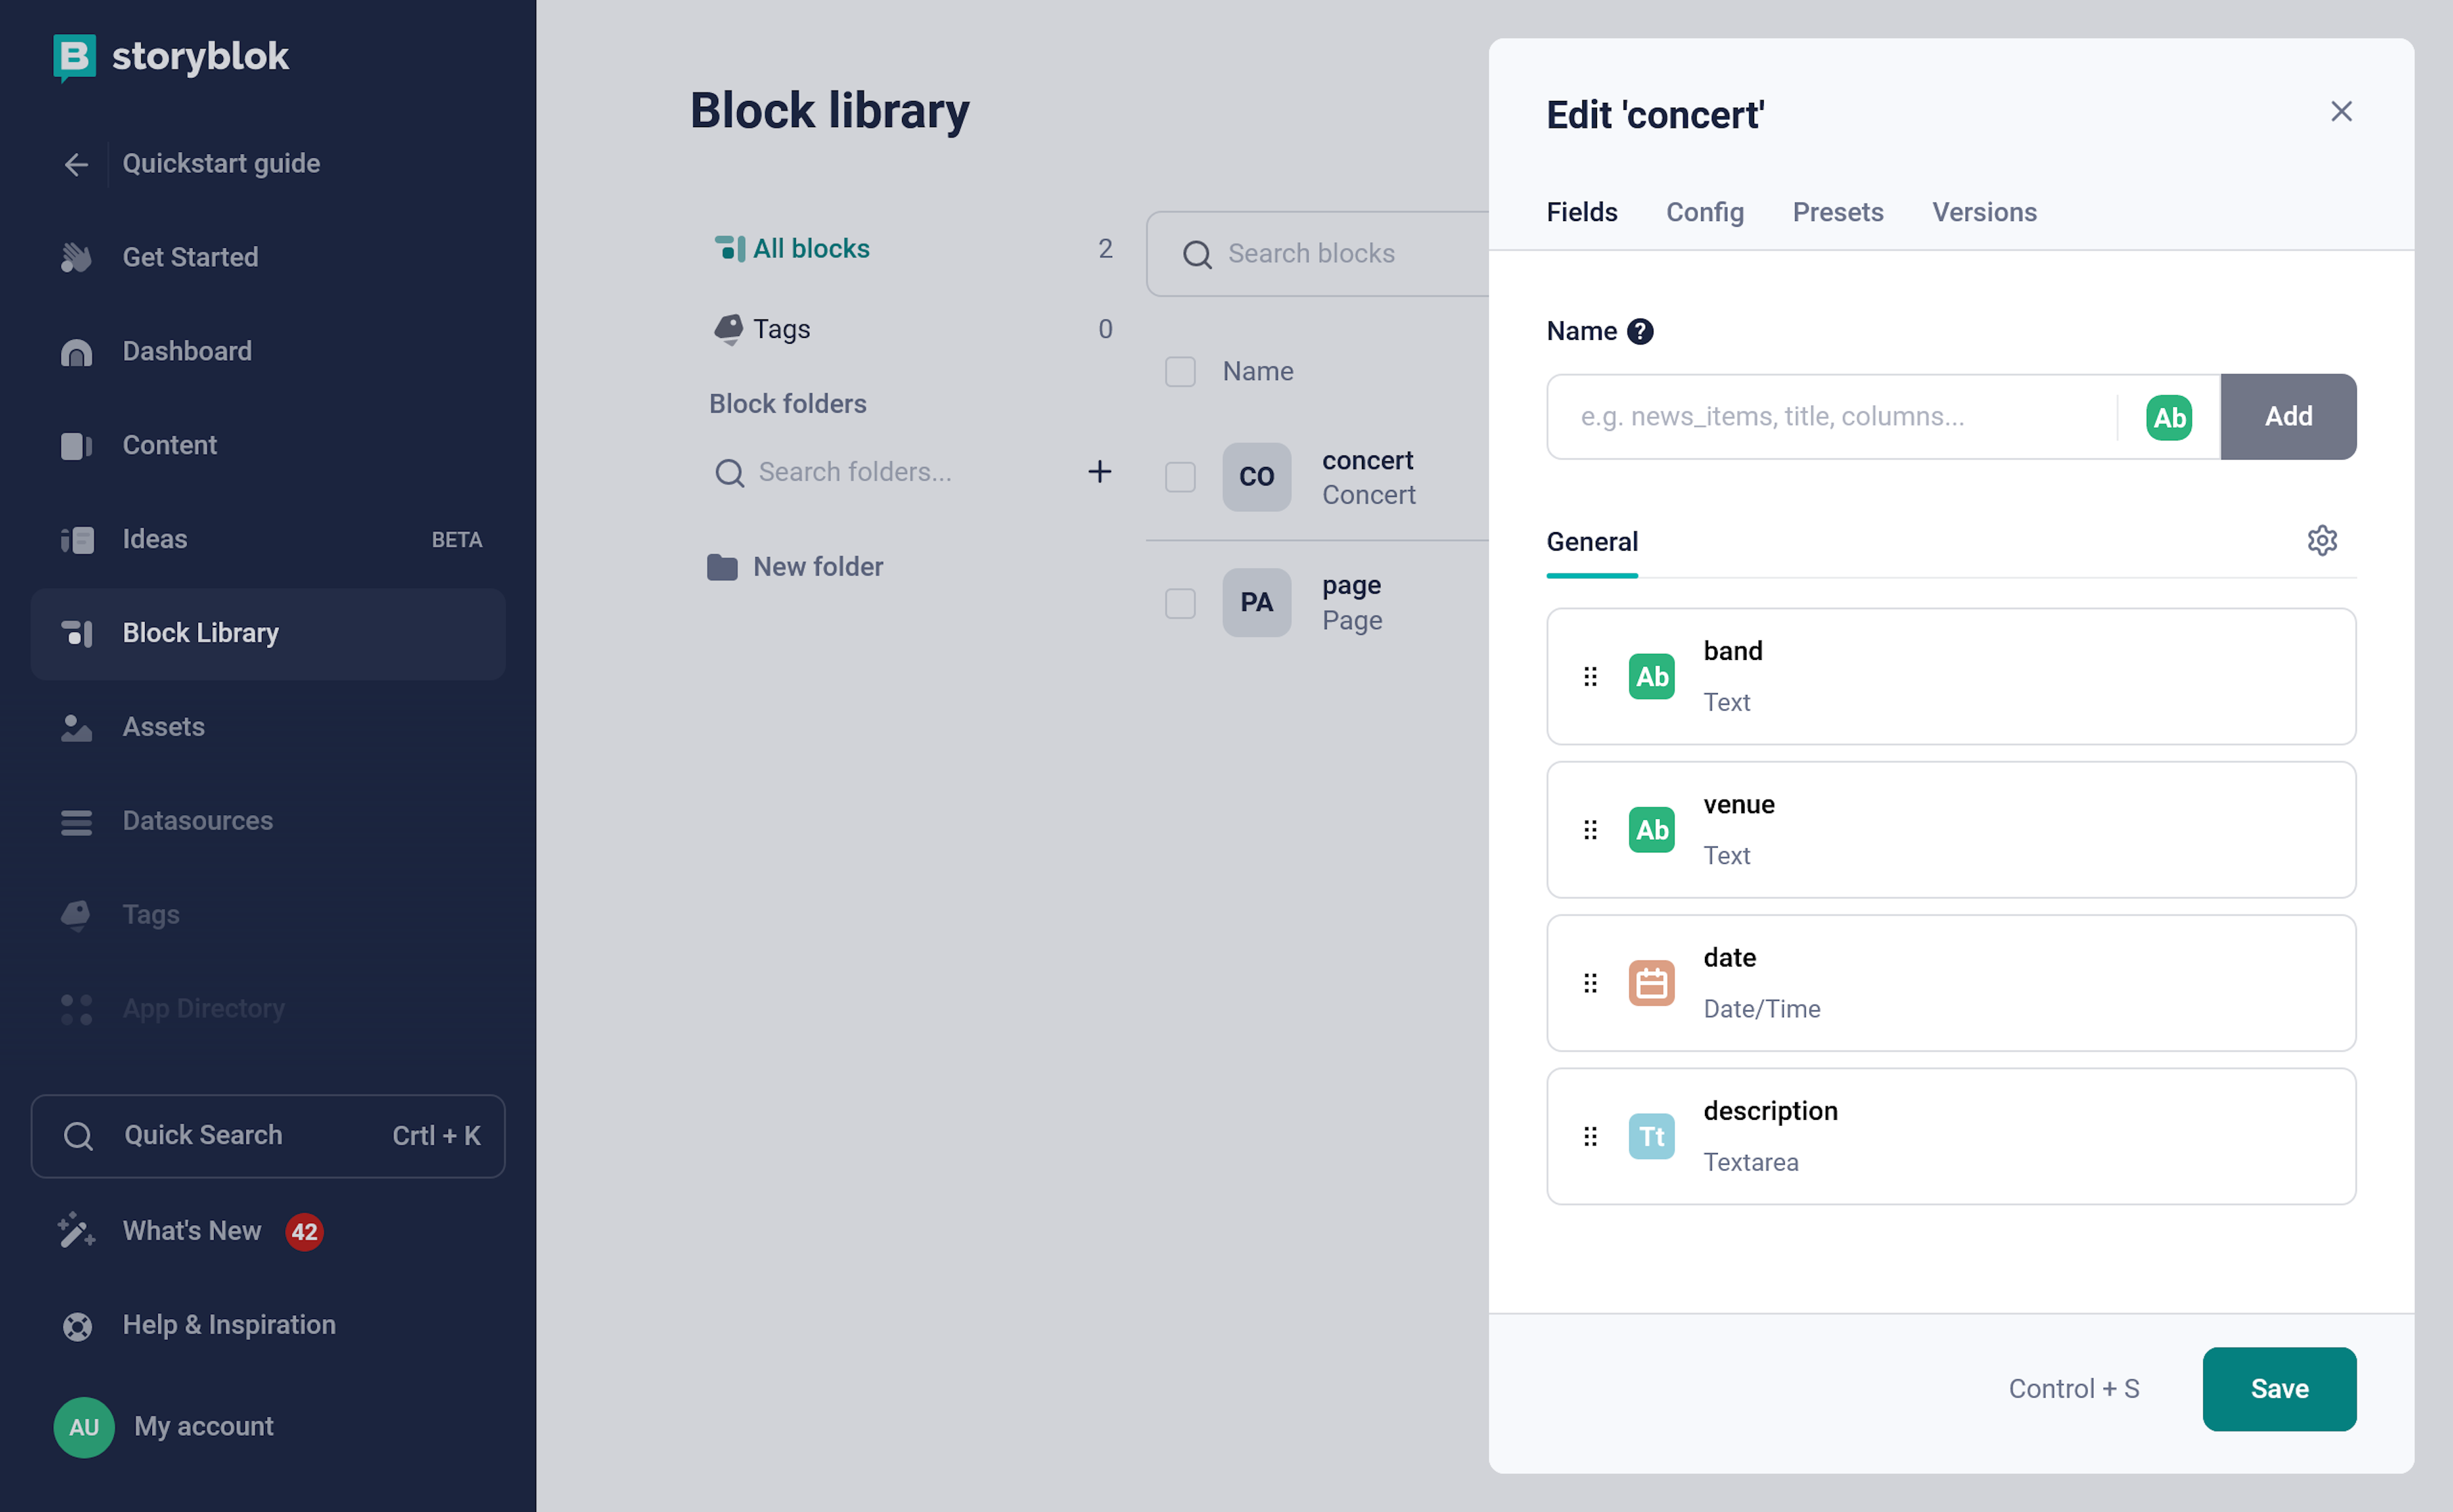
Once we have created our concert block let's add the necessary fields to it.
Add the following fields with the types.
band. Text
venue. Text
date. Date/Time
description. Textarea
Now that we have created our block let's move on to the Content section and create a few stories with our newly created block.
Create Storyblok stories
Click on Create new and then Story.
Give your story a descriptive name and change the Content type to Concert.
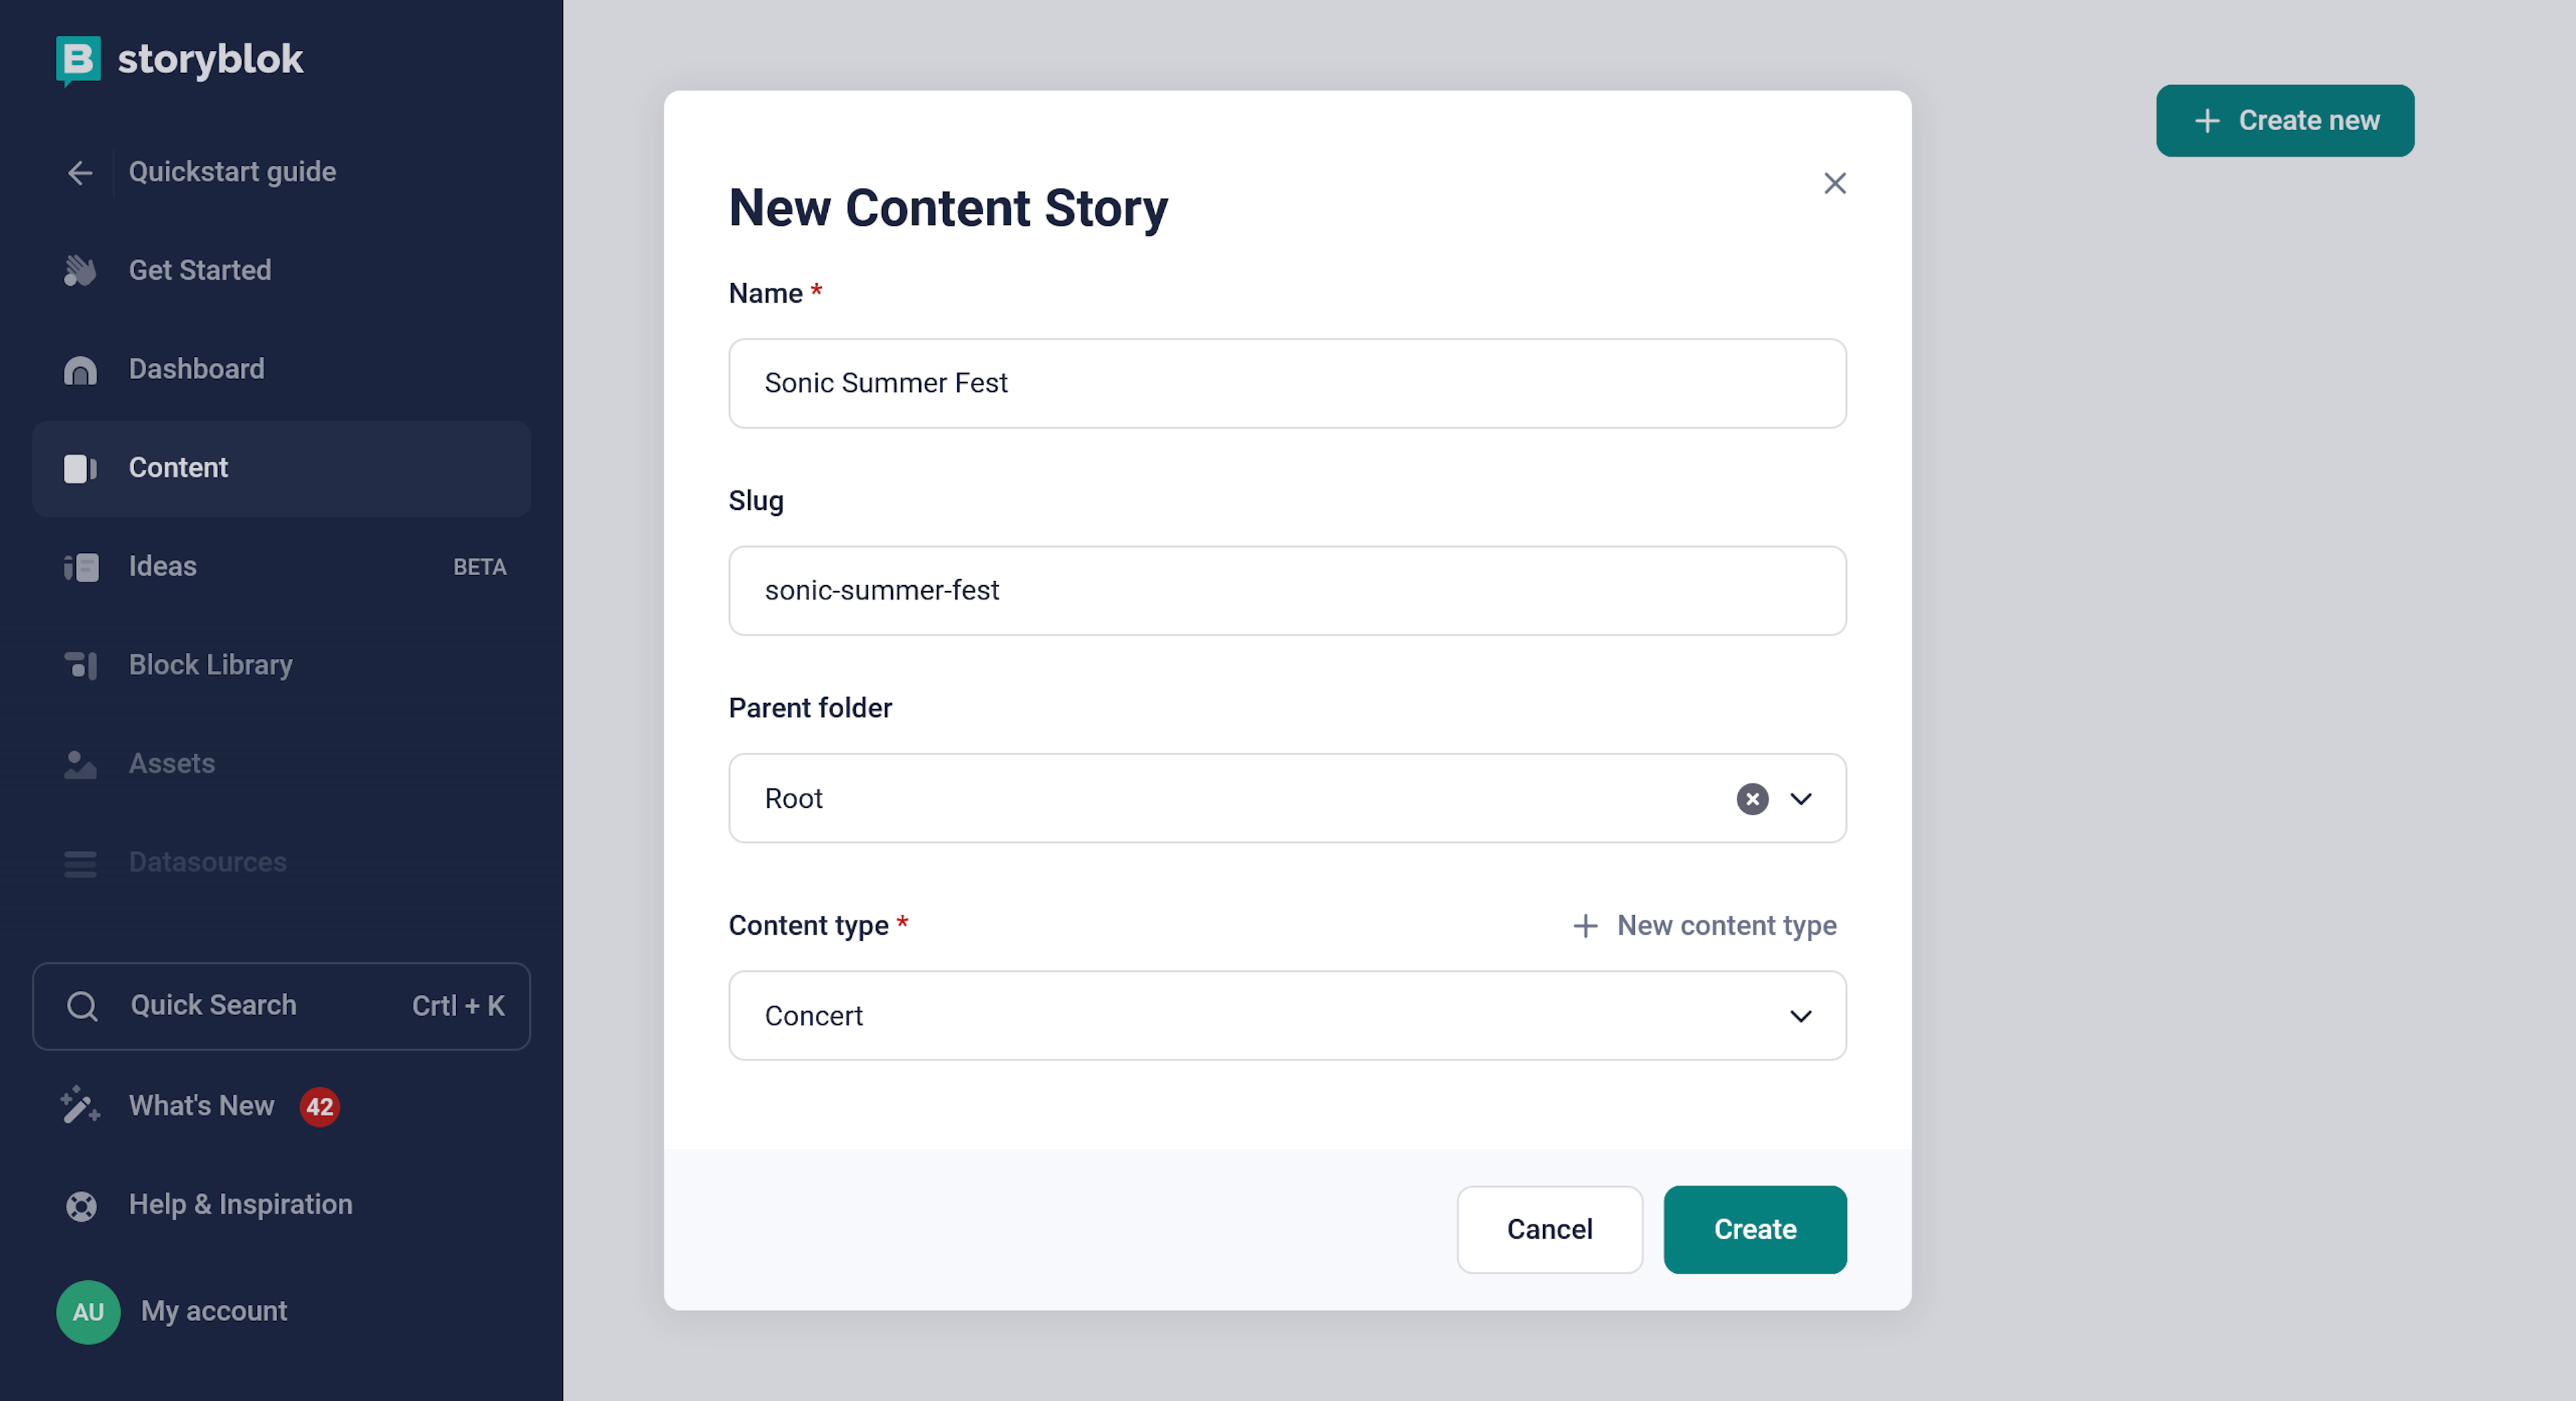
Notice how the Slug gets automatically populated. We will use this value to fetch a specific story in Next.js.
Click on Create and move to add content.
Fill in the Band, Venue, Date, and Description fields for your concert.
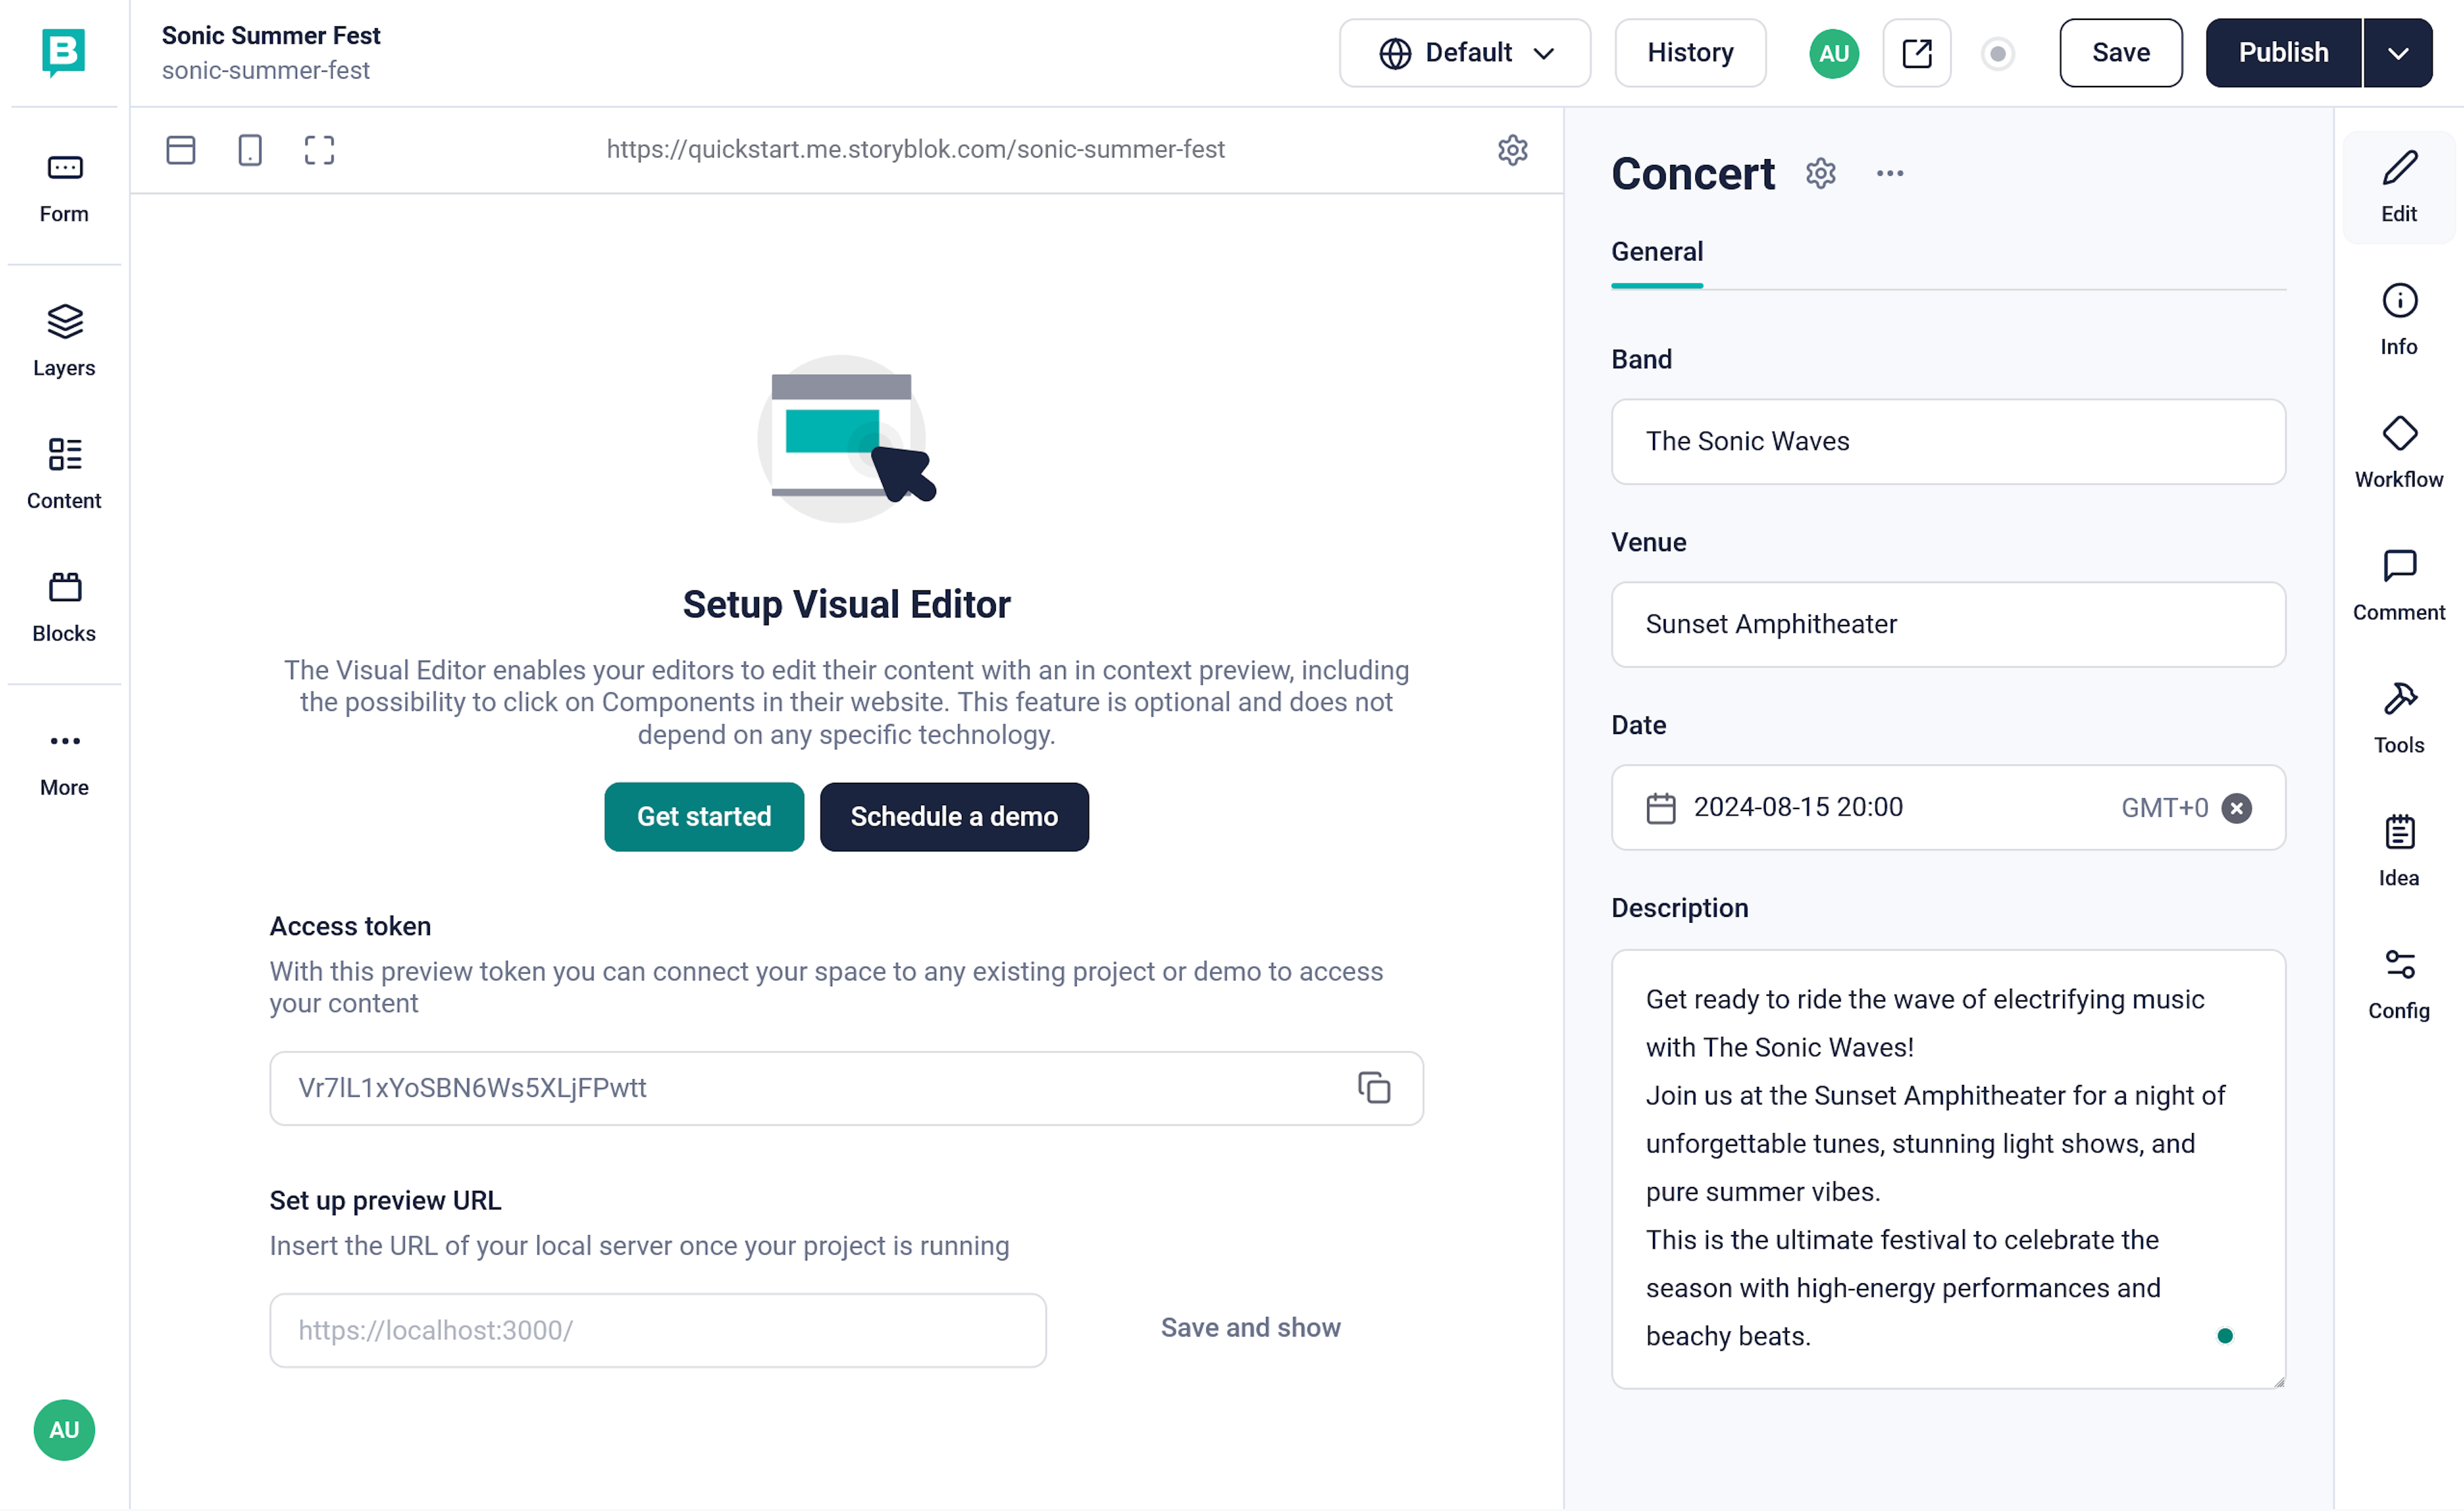
Once you have added all the content hit on Publish and move over to Next.js.
Integrate Next.js with Storyblok
In a fresh Next.js project install the required package @storyblok/react using either npm or yarn.
After installing the package, initialize Storyblok in the root layout of your application found on the file src/app/layout.tsx.
On line 1, import the required functions storyblokInit and apiPlugin from @storyblok/react.
On line 4, call the storyblokInit function, set the accessToken to the environment variable STORYBLOK_ACCESS_TOKEN, and use the apiPlugin.
In production environments like Vercel or DigitalOcean, set the STORYBLOK_ACCESS_TOKEN environment variable using their interface but in your local Next.js development environment, use a special file .env.local.
Next.js automatically creates environment variables from the
.env.localfile. Make sure that this file isn't committed to the repository by adding it to the.gitignorefile.
To find your Storyblok access token go to Settings and click Access Tokens.

Copy the access token and paste it into the .env.local file for the variable STORYBLOK_ACCESS_TOKEN.
Fetch multiple stories from Storyblok
Navigate to the home page file found on src/app/page.tsx.
On line 1, import getStoryblokApi from @storyblok/react. We will use this function to get the Storyblok client that we initialized in our root layout file.
On line 5, get the Storyblok client.
On line 6, call the getStories method and in the parameters set the content_type to concert. This way we will only fetch the stories that have a content type of a concert that we created earlier.
On line 10, map over the stories and render a link for each story that points to its slug.
Fetch a Storyblok story based on its slug
Under src/app create a folder [slug] and a file page.tsx inside of it. This will be the dynamic page for individual concerts.
Populate the file with the following code to fetch a story based on its slug.
On line 1, just like on the home page import getStoryblokApi from @storyblok/react.
On line 4, get the Storyblok client.
On line 5, fetch a story based on the page's slug that we get from its props. Note that the getStory method takes two parameters. The story's slug and optional parameters.
On lines 9 to 12, render the concert's band, date, venue, and description.
Extra tips
To render dates and multiline text more beautifully we can use a few tricks.
Turn the date into a JavaScript Date object and call the toLocaleString method to format it nicely.
For the multiline text, set the element's whiteSpace style to pre-line.
If you are interested in learning Storyblok and Next.js more in-depth, I recommend watching my full-length tutorial that takes you from zero to hero.
In this video tutorial you will learn how to:
Dynamically render Storyblok blocks.
Enable live visual editing with Storyblok.
Optimize images for fast first contentful paint.
Render rich-text content.
Deploy to Vercel.
Conclusion
To fetch data from Storyblok in Next.js you need to:
Install
@storyblok/reactpackage.Initialize the Storyblok client in your app's root layout file with your access token.
In your pages, get the Storyblok API client and call the
getStoryorgetStoriesmethods.